5 Easy To Do Toilet Upgrades and Fixes
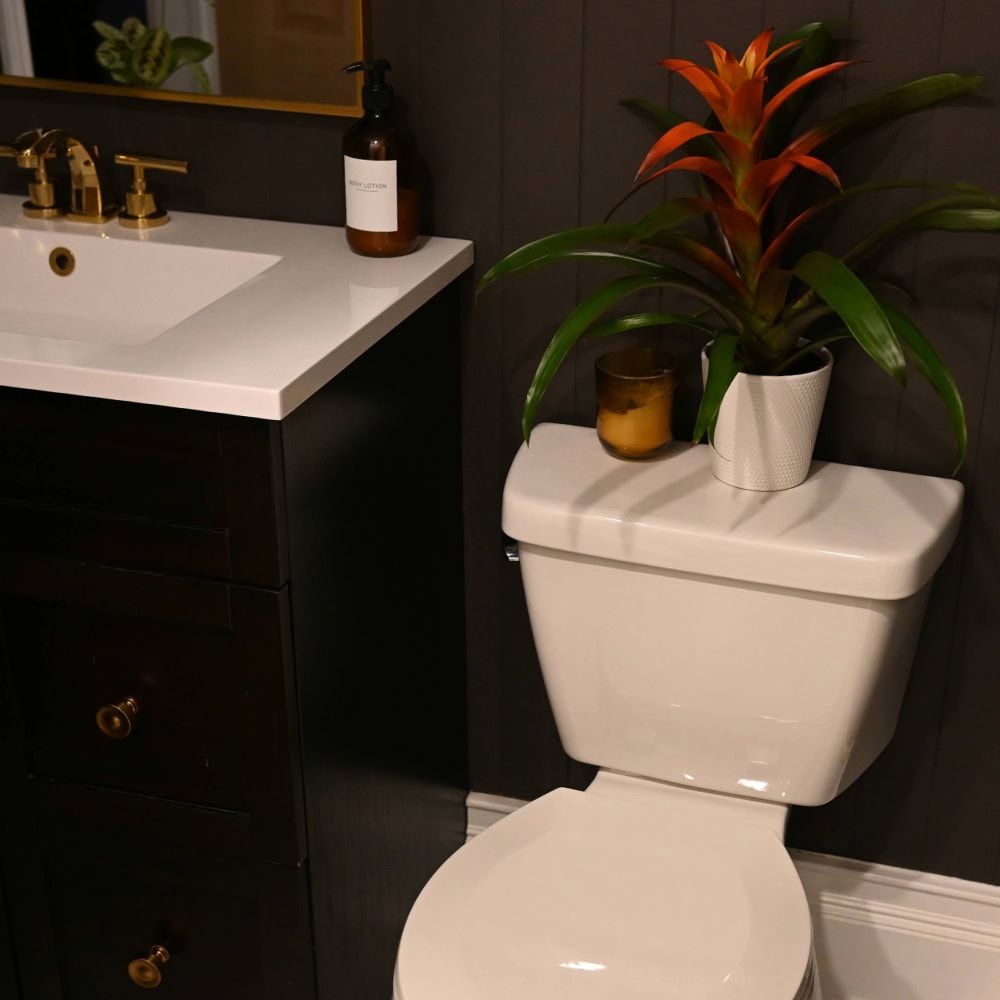
While not the most glamorous, the bathroom toilet is undeniably one of the most important objects in your home. It is something we don’t usually think about until something goes wrong with it. Then, we might automatically jump to the conclusion that we need to replace it. Instead, lets consider some easy toilet upgrades and fixes you can do to keep your toilet running smoothly.
- An Easy Trick to Save Water
- Upgrading the Toilet Seat/Lid
- Replacing the Flapper Chain
- Upgrading the Tank Lever
- Replacing the Wax Seal
An Easy Trick to Save Water
What differentiates an expensive toilet from a cheaper one? As it turns out, not much.
Aside from ultra modern and wall-mounted options available today, most current toilet models haven’t changed very much in appearance or function in the past five decades.
Unless we are discussing efficiency. These days, fixtures are designed to be low-flow, consuming less water to do the same amount of work. But what if I told you that you can convert any toilet into a lower-flow unit with one simple fix?
The Weighted Water Bottle Hack
By adding a weighted water bottle into the back tank, you can reduce the fresh water needed for each flush. This is because the level, or height of water determines how much the toilet tank refills, not the overall volume. So displacing half a liter of volume in the tank will save half a liter of water with every flush.
I repurposed an old Nalgene that we no longer used (a squirrel ate part of the lid when we left it outside). I filled it with some roofing nails, but you could use rocks, sand or a combination of weight and water.
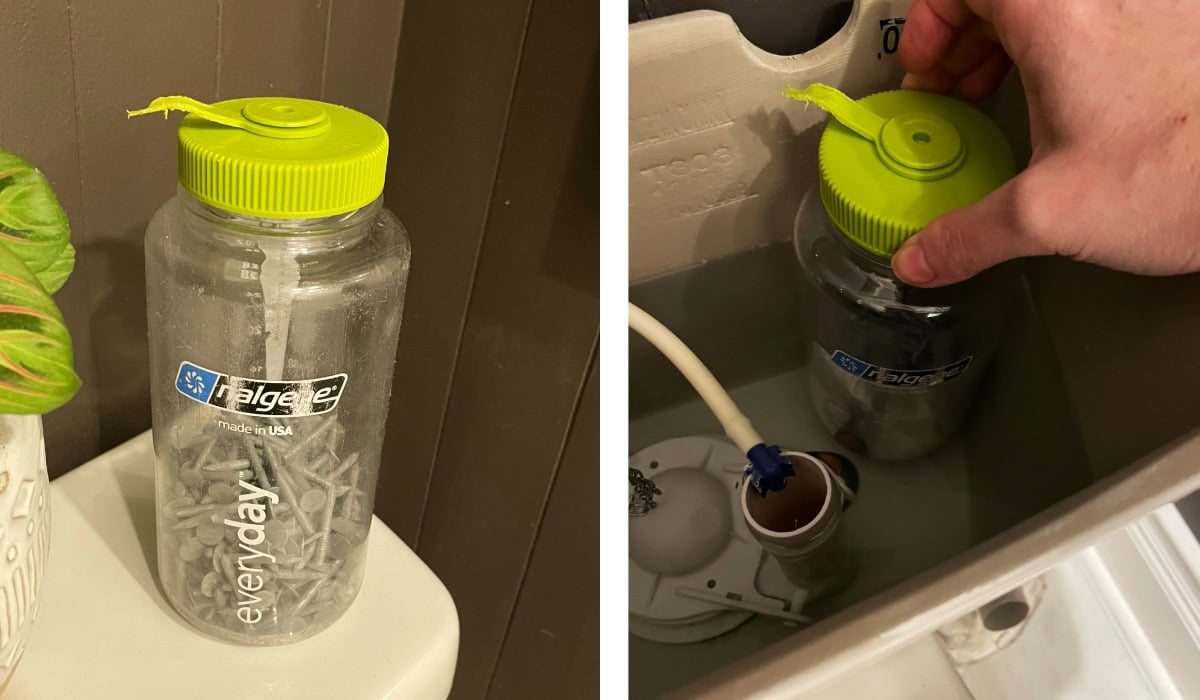
Remove the lid from the tank and put in the weighted bottle away from the internal mechanisms of the tank. Replace the lid and you instantly have a low-flow toilet.
Upgrading the Toilet Seat/Lid
If you are debating whether to replace your existing toilet, remember that many of its parts can be upgraded. So why not give your old toilet a makeover! (After all it does for you, doesn’t it deserve to look good too?)
One of the easiest toilet upgrades to can start with is replacing the seat and lid. So all the wooden seats and carpeted lids of the 80s can happily become a distant memory.
Start by popping up the plastic flaps that cover the screws holding the seat in place. Use a large Philips head screwdriver to unfasten the screws. You may need to hold on to the plastic bolt on the underside while you unscrew them.
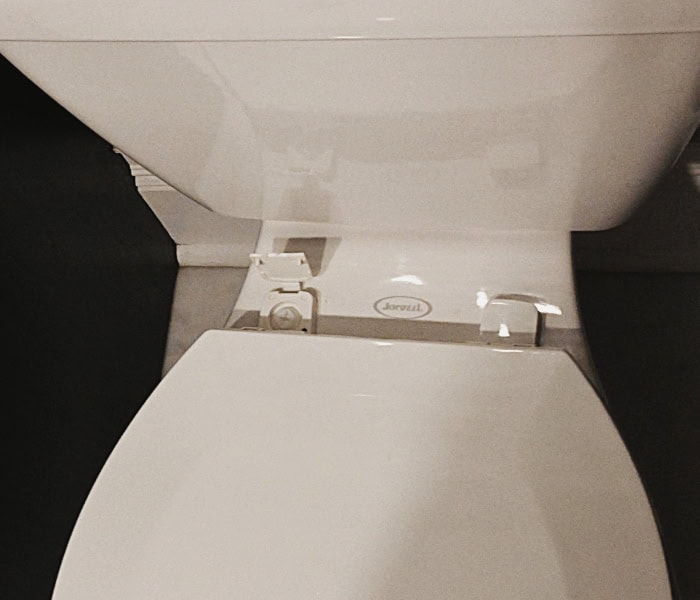
Remove the seat and lid and replace them with the updated version. If you are looking for a replacement seat/lid, be aware that toilets generally have two shapes – round and elongated. Choosing the right one for your toilet shape will keep your lid from fitting incorrectly and looking funny.
Here is an option for a round toilet seat and lid. And here is and option for an elongated one.
*Some of the reference links provided in this article may be affiliate links. Purchasing from that link would help to support my site, at no additional cost to you.
Replacing the Flapper Chain
If your toilet is sounding like it’s constantly running, the issue could be the flapper chain.
Inside the tank is a chain that connects the tank’s flush lever to a piece called the flapper. When the chain is pulled upward, the flapper lifts, releasing water from the tank to flush the toilet. But sometimes this chain gets stuck on itself, keeping the flapper open. When this happens, the water keeps flushing into the bowl and new water continuously runs into the tank to try to replace it.
A quick fix to this is to lift the lid to the tank and unstick the chain, allowing the flapper to close. For a longer term fix, there’s a simple solution! Replacing a link-style chain with a beaded chain that’s less prone to getting stuck is one of the easiest toilet upgrades you can do.
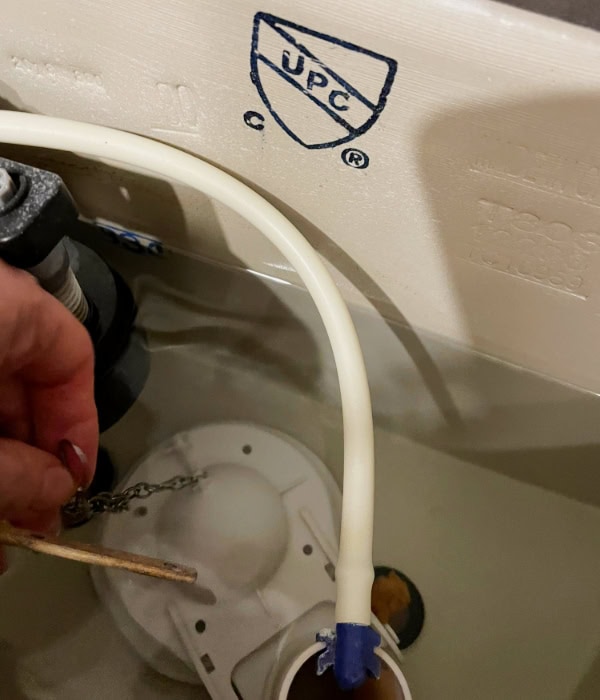
How to Replace the Chain
To replace the flapper chain, remove the lid to the toilet tank. Reach down to where the chain connects to the flapper piece and unhook it. Usually this part is underwater. But rest assured, it is fresh water coming from the cold water hose connected to your toilet tank.
Extending into the tank from the flush lever, a thin metal rod connects to the top of the chain. Unhook it and measure it against your new chain, making sure they are a similar length. Attach the new chain, connecting it back onto the lever and the flapper.
Test it while the tank lid is still open by flushing to see if it works. You might have to shorten or lengthen the chain so that when you flush the lever, the flapper opens and eventually closes itself when the tank water refills.
Upgrading the Tank Lever
The tank lever is another thing that might cause the fixture to look dated or out of place. You might not want a Victorian porcelain lever in your ultra modern bathroom—or an ultra modern lever in your Victorian bathroom.
But rusty, damaged or broken levers also affect the function and flush rate. And for that reason, many a good toilet will get tossed to the curb!
So instead of getting a new toilet, save money and prevent waste by first trying to replace your tank lever.
Types of Tank Levers
The first step to replacement is selecting the right lever for your unit. The location of the lever on your toilet will determine which one you will need to buy. A lever can be located on the front of the tank or the side of the tank, either on the left or the right. So make a note of your lever’s location before you buy.
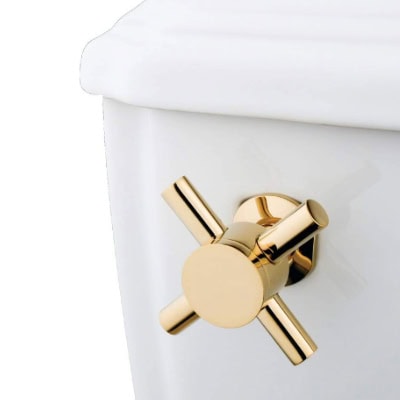
Levers are available in all different price ranges, depending on the brand and type of finish. A simple one like this is a good bet. Or you could splash out on the Cadillac like this one, which would still be cheaper than replacing your entire toilet.
How to Replace a Tank Lever
Replacing the lever can give your toilet a much-needed refresh in a few quick steps.
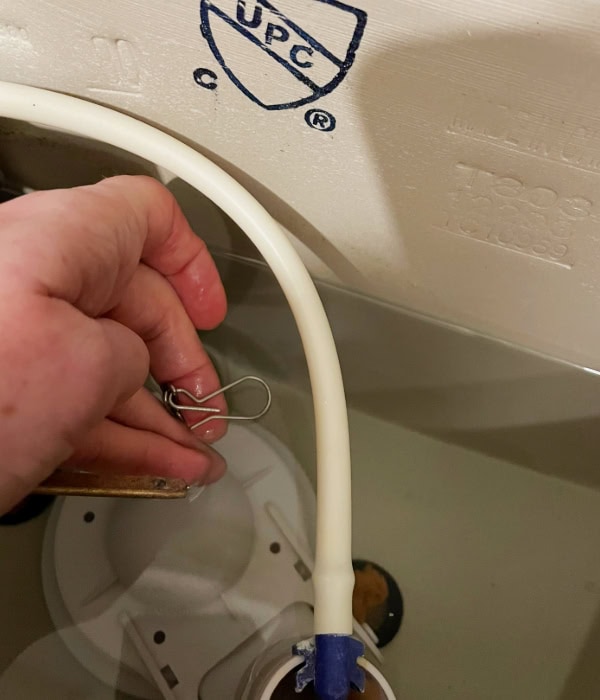
Start by taking off the lid to the toilet tank. You will see a metal rod sticking out from the lever, which attaches to a chain that connects to the flapper—the plastic piece that covers the drain to the tank, and enables the flushing to the bowl. Unhook the chain from the lever rod.
Then, twist off the threaded nut and washer keeping your toilet lever in place. Slide the nut and washer off the metal rod of the tank lever. Pull the lever and rod out from the toilet tank.
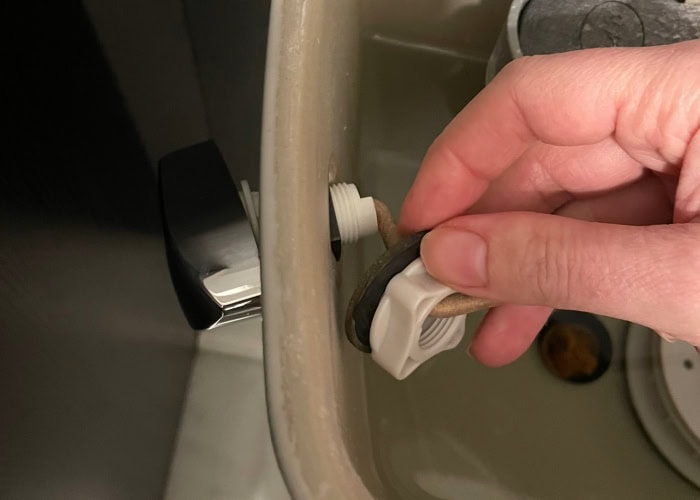
Remove the nut and washer from the new lever and insert it into the hole in the tank. Feed the washer back over the threaded part of the new lever and follow it with the threaded nut. Tighten it so the lever is secure. Connect the flapper chain back on to the new lever rod.
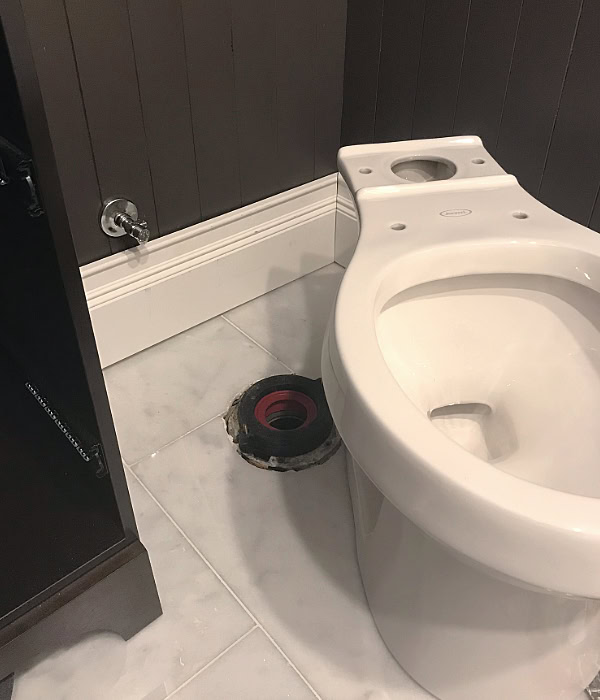
Replacing the Wax Seal
One of the toilet upgrades that is perfect for those who are already renovating is to replace the wax seal. A toilet either has a wax ring or foam ring that seals the toilet to the wastewater stack. This seal can wear out overtime, causing odors and wastewater from leaking from the base of the toilet. So if you’re replacing your floor tile and removing the toilet already, it is a great opportunity to replace the toilet seal.
How to Replace a Wax Seal with a Foam One
Before you detach the toilet, turn off the water source and flush to drain the water from the tank. Then use a shop vac or a towel to remove the residual water from the bowl. Unscrew the two wingnuts at the base of the toilet and lift the toilet up. Scrape away the remainder of the wax ring and replace it with a new one like this foam gasket. Then, put the toilet back in place, tighten the base screws and reconnect the water to the tank.
Final Thoughts
It is common for homeowners to feel intimidated by plumbing work, even minor fixes like toilet upgrades. But a bit of time spent fixing up an existing toilet can save you from spending hundreds replacing it.
Whether it is a functional plumbing upgrade or purely an aesthetic one, these toilet upgrades can help extend the life of your toilet, save water, and keep it looking great. There is no fixture that deserves it more!


