How to Create Custom Built-in Wall Units for Dining Room Storage
When a blank wall offers little to your dining space, add custom wall units for dining room style and function!
Storage is one of the most-needed requirements of smaller, older homes. And one place where storage opportunities tend to get overlooked is in dining rooms and living rooms. These spaces often have empty floor to ceiling walls that are perfect for built-in storage. Custom built-ins can also add space for displaying artwork, decor items and electronics like your television (or vinyl record player!).

Surprisingly, custom built-ins are not as expensive or difficult to build as you might think! So if you’re ready to take on a DIY project that will add function and personality to your home, try these easy wall units for dining room /living room storage.
- Designing a Wall Unit
- Building the Boxes
- Building a Base
- Assembling Wall Units
- Adding Lighting
- Finishing Touches
Designing a Wall Unit
The first step of any house project is the brief; deciding the elements you want to include in the design.
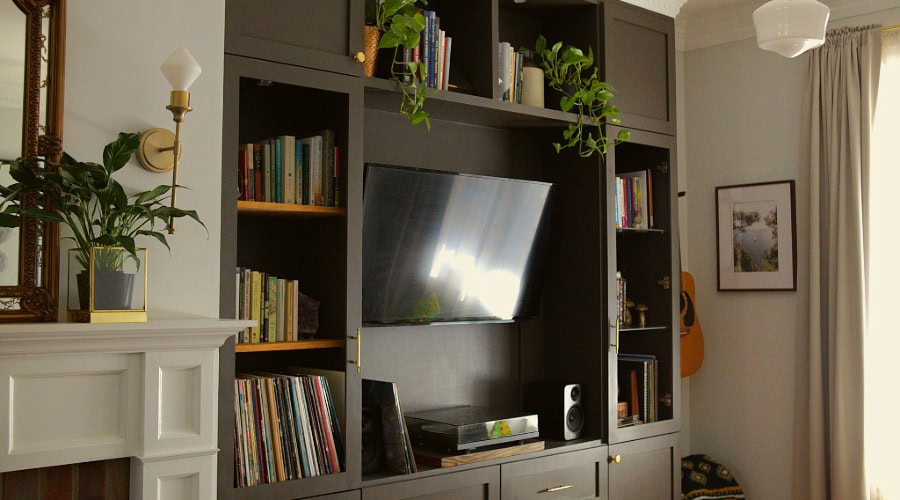
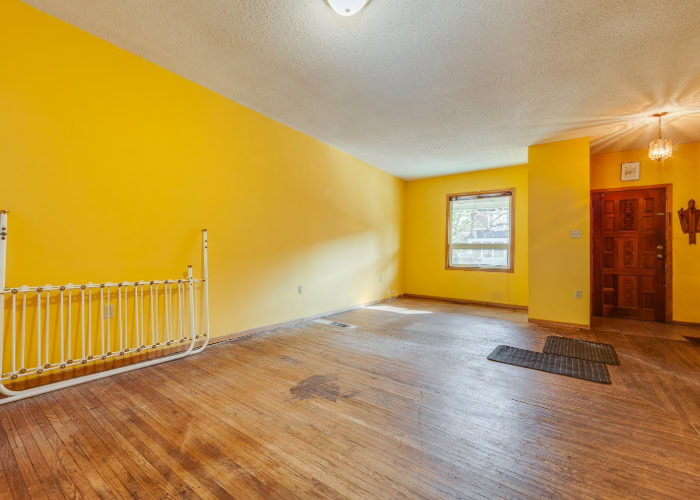
The dining/living room wall in our home was long and bare and very yellow. We wanted the wall units for dining room and living room separation, as a way to subdivide the space into two distinct rooms. We also wanted added storage, a space for artwork, a place to display our collections of books and records (and whiskey), and an entertainment unit.
The next step is to do some sketches on paper. They don’t have to look good, just have an idea of where you want the frame, doors, drawers, etc.
After sketching out some possibilities, we settled on a design we were happy with. It incorporated a gas fireplace in the middle, with a built in wall unit on either side of it. The fireplace bump-out allowed us to conceal some ductwork that we wanted to add. It also helped to act as the divider between the the living room and dining room sides of the room.
Creating a design to work from
Now take measurements. Know the width, depth and height of the entire unit as well as the individual components. Make sure you are making the dimensions realistic for what you want to store there. For instance, if you want it to contain an entertainment unit, measure your TV to be sure it fits. If you want book shelves, make sure your tallest books will fit. And if you are storing vinyl records, be sure that the depth of the unit is at least 12.5 inches.
The next step is getting a detailed sketch with measurements down on paper or on the computer. Try using graph paper to keep the dimensions well-proportioned. The scale I often use is 1 foot equals 2 grid squares. However, even a napkin sketch will do as long as you clearly mark the measurements.
If you’re interested in creating a design with the help of computer software, I would definitely recommend SketchUp. It’s an easy to learn software with hundreds of tutorials available online. You can access a free online version of the program here.
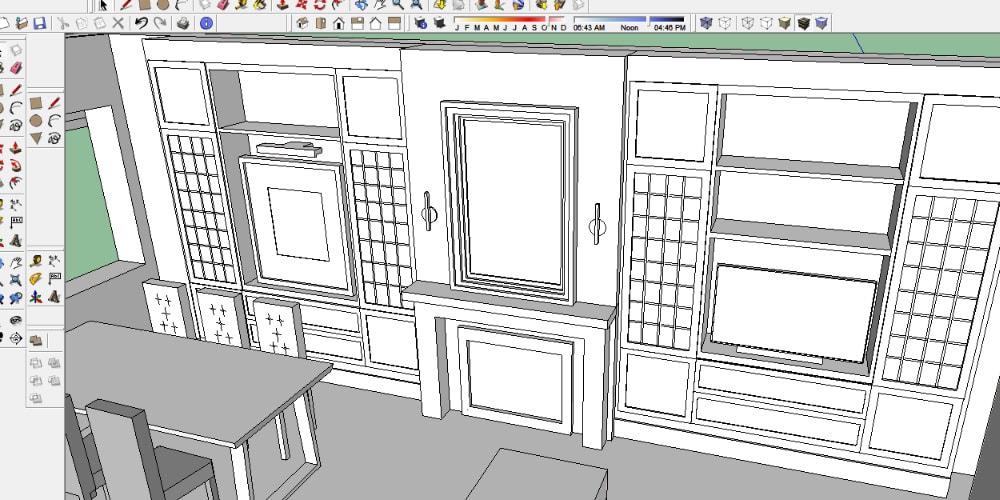
For our built-in wall units, a design in SketchUp allowed us to visualize how the units would look in the space. It also provided clear dimensions for us to work from.
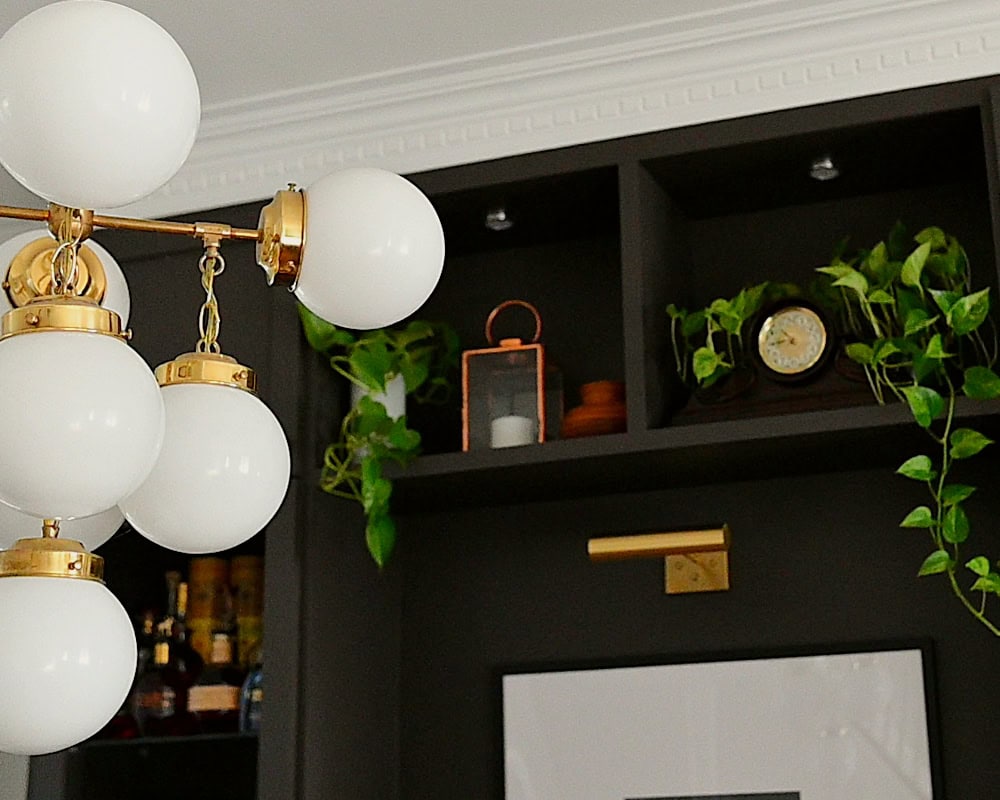
Consider lighting in the design phase
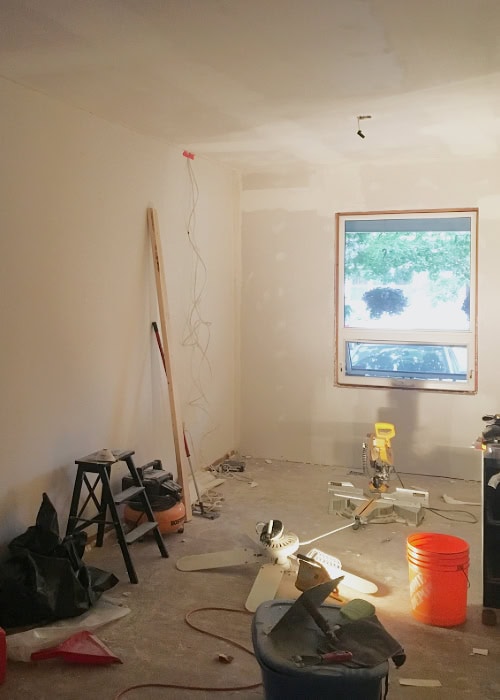
Drawing out the details also allowed me to see that lighting would be something we would want to incorporate into the units, as well as the fireplace in the center. This meant that we would need to run the electrical ahead of time, and consider where the switch to control that lighting would be located.
If you’re planning on designing wall units for dining room storage, think about whether you want to incorporate lighting early on. Considering lighting ahead of time will allow you to plan for wiring and incorporate it in your design.
Think about how you can conceal wiring for the lighting in your built-in, and where it will connect to a switch.
Building the Boxes
Building wall units is not as complicated as you might think. The first step is to examine your design and figure out how you can break it down into buildable sections. Built-in units are easily constructed by building several box-like structures (called carcasses), then combining them together. Doing it this way allows you to easily move and stack individual boxes to create the skeleton of the unit. Later, you can conceal any joints with special face trim to make the unit look like once cohesive structure.
We decided to build each of our units in five sections: two horizontal boxes divided into four sections; two of the tall side cabinets; and the large middle square.

Materials
One of the most cost-effective materials to build your boxes from is medium-density fiberboard. MDF is inexpensive compared to other materials, but not the most durable. Screws going into it are not as secure as they are in solid wood or plywood because the fibers in MDF can become loose if overworked, so it is important to always use wood glue when joining the pieces. It is also more susceptible to moisture damage and can swell if wet, so be sure to seal it with a good latex paint. While the MDF worked fine in this case, if we were to build custom wall units again, I would opt for plywood.

We joined the pieces using regular wood glue and pocket screws (1-1/4″). These corner clamps came in handy to ensure each corner dried at 90 degrees without slipping.
We also added a sheet of 1/8″ plywood to the back of each box, instead of relying on the existing wall to be a backing to the unit. The existing wall wasn’t plumb, so enclosing the back with plywood prevented a space gap behind the units.
Building a Base
Before putting the boxes in place, we built a base for them to sit on using 2x4s. Framing a low platform for your wall units provides a solid starting point to build on. Using a level to ensure your base is perfectly level and plumb will keep everything on top of it square. If you’re looking for a good level, I love this 20 inch foldable one. It replaces the need for multiple sizes of levels, and it has a built-in laser level!
*Some of the reference links provided in this post may be affiliate links, meaning that any purchase from that link would help to support my site, at no additional cost to you.
Another reason to build a base instead of setting boxes directly on the floor is for ease of access. Raising the cupboards and drawers up a bit means you don’t have to bend over as far to access them. It also prevents cupboard doors and drawers from scraping on the floor when they open.
The easiest way to dress up this base frame at the end is baseboard trim. Save some trouble by picking out your baseboard trim ahead of time and base the height of your base frame off of the dimensions of the baseboard trim. If your walls already have baseboards, selecting the same baseboard for your units provides a seamless look.
Assembling Wall Units
Next, we set the long 4-section bottom box on the base frame and built up the pieces from there. We used wood glue to hold the boxes together, securing with clamps while the glue dried. We also used finishing nails for added strength and screws where they wouldn’t be visible (like where the drawers would eventually go).

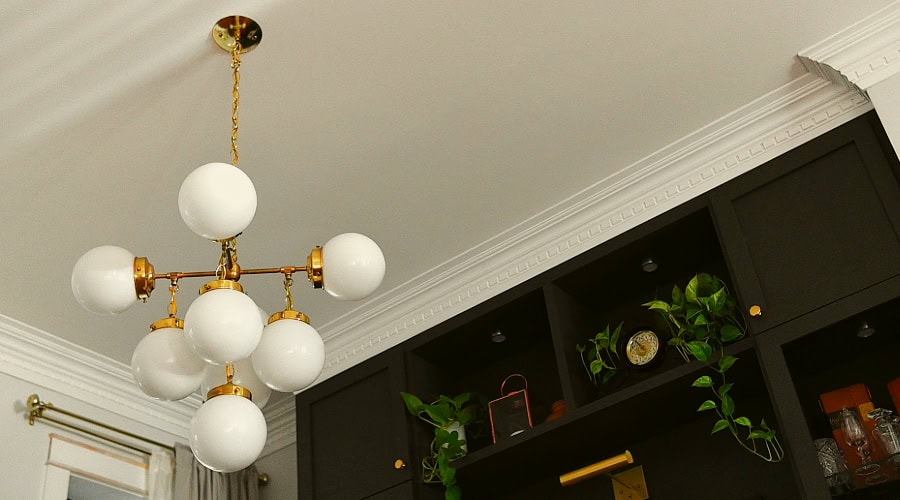
Adding Lighting
The next stage was adding the LED lighting. We used dimmable linking LED puck lights in warm white. These LED lights have a transformer that allows you to direct wire them as you would a regular light fixture. There are different types of puck lighting including ones that can be plugged in and controlled with a remote.
Think carefully about where you’ll want your lighting before you add it in. On our units, we knew we would want lighting in the two middle upper section boxes for the display shelves. We also knew lighting would look good in the long side boxes, which would have glass cabinet doors.

We also made sure to choose lighting that linked in a series, not in parallel, so we could daisy-chain them starting from the power source, eventually connecting to the unit on the other side of the fireplace so that one switch could turn on the lighting for both built-in units at once.

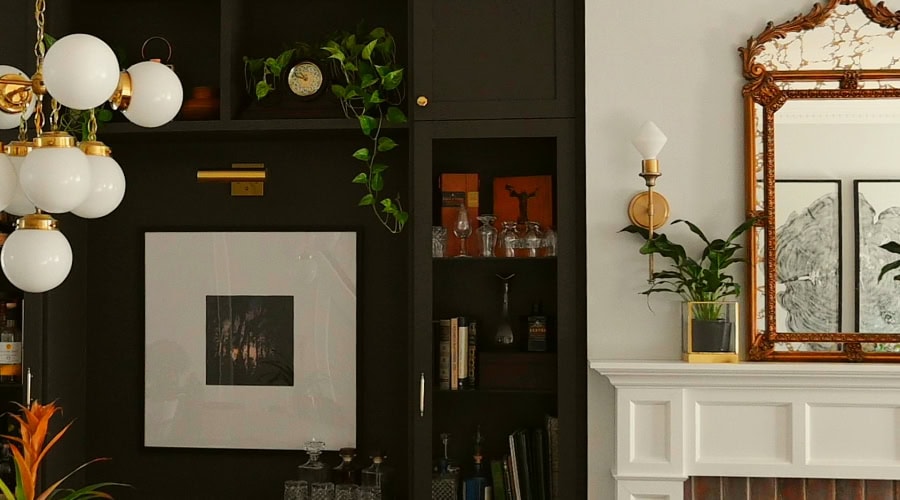
Finishing Touches
To cover up the MDF joints, we used 1/8″ strips of poplar, 1-1/2″ wide to trim out the front. We fitted a piece of MDF to cover up the 2×4 base and fill the gap beneath the boxes. Then we attached baseboard trim that matched in with the rest of the baseboard in the room.

At the top of the units, we first placed some blocking to attach the upper trim to. Like the bottom, we first attached a fitted piece of MDF that extended up to the ceiling, providing a solid base to secure the crown molding to.

Painting
Next came the filling and painting. I used a latex filler in gray to fill the holes from the face trim, bottom baseboard and the gap between the bottom of the baseboard and the floor. Then I used a high-quality furniture paint in a soft gloss finish to paint the units, including the baseboard. Two coats of this paint provided the perfect coverage without primer, and in my experience, selecting a high-quality paint is always worth the extra $10 or $20 because of the time it saves and the quality of the end result.

For a while, we kept the unit as open shelving while we focused on other projects in the house. We ended up enlisting the help of a friend who makes cabinetry to help us with the doors and drawers. Although part of me felt like we were giving up on a challenge by turning to someone else to do this last part, the final result tuned out great and I don’t regret outsourcing a small piece of it.
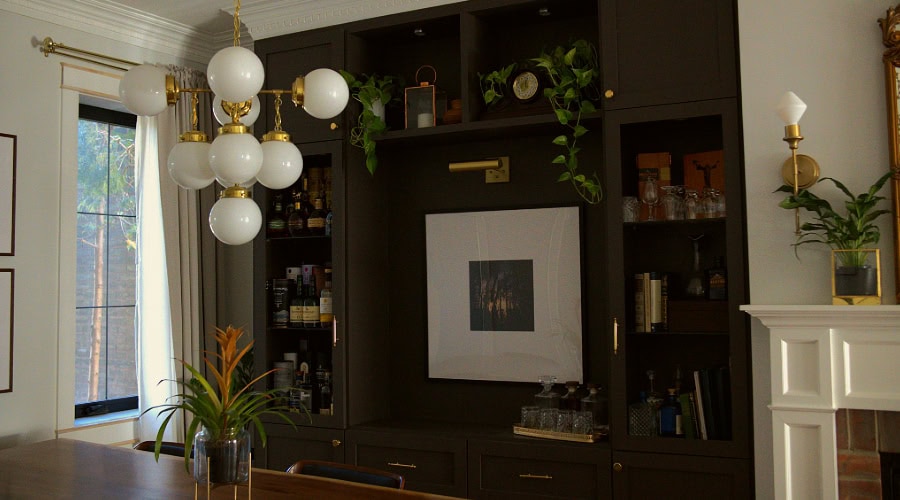
The Final Result
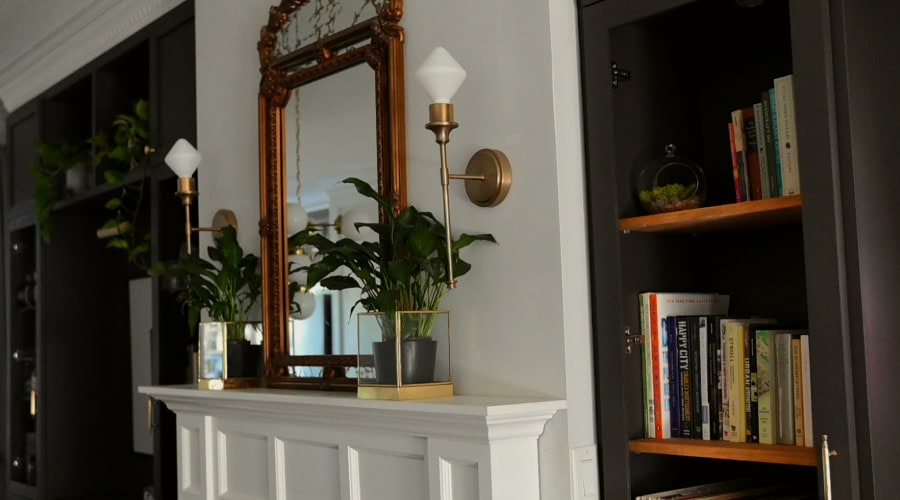
Creating wall units for dining room /living room storage can transform the look of a space, while improving its functionality as well. It is so useful having additional storage in the room where we spend the most time. And in a small space, having drawers to keep things like our son’s daycare clothes adds a bit of convenience to each day.
Actually, these units are not quite finished; there is currently no glass in the cabinet doors (that’s not just really clean glass you’re looking at). I’m still holding out hope for the day I have time to fix up the leaded-glass panes to put inside. So stay tuned.
Try this project out for yourself if you think it might add functionality to your space. There are so many ways to build the boxes (it doesn’t have to be from scratch!) I have seen many inventive people retrofitting built-ins from Ikea storage and other off-the-shelf cabinetry. And these days, there are so many good tutorials available online for making building projects even easier.

Since making these wall units for dining room storage, I have seen numerous great examples of drawers boxes and door/drawer fronts made from scratch. This is definitely something I would love to try on future projects. And I know the opportunity for another custom built-in is always just around the corner!